Many users around the world search different solutions for “How to import Outlook PST file in Office 365”, in which many go to manual process and many opt for third party option. If you are still looking for a method then you can migrate PST to Office 365 without any cost from below steps.
MS Outlook & Office 365
Both Office 365 and MS Outlook are developed by Microsoft Corporation but MS Office 365 offers some advanced features and benefits. Office 365 is a cloud-based package where all O365 users can work from anywhere with Internet connectivity. Due to its popularity, it is increasing very fast. And a lot of businesses and organizations are moving to O365. If we talk about data security, then Exchange 365 is more secure than Outlook.
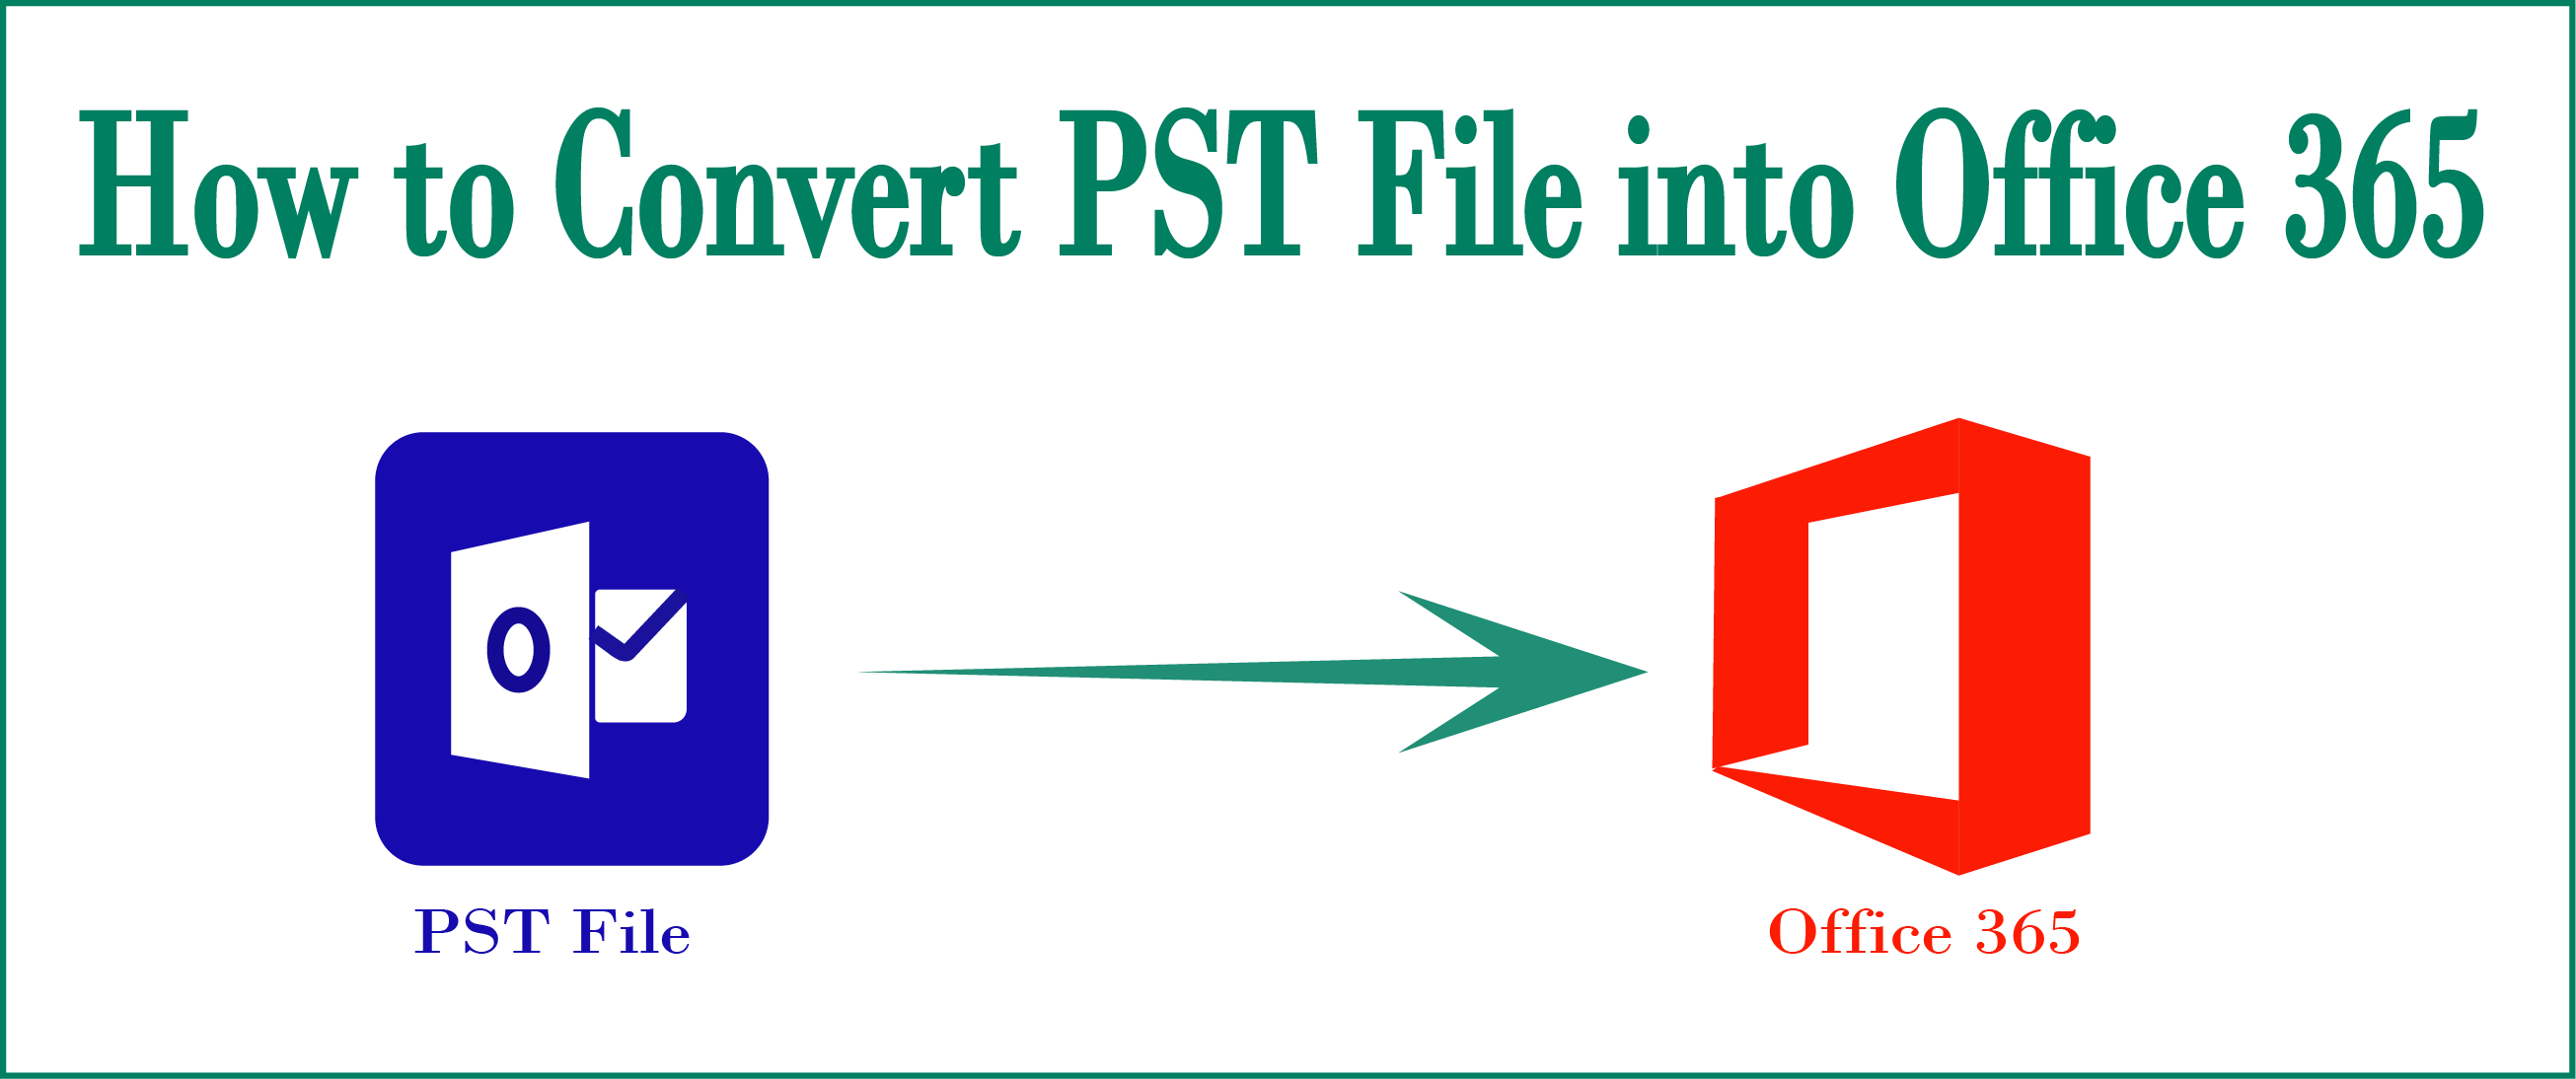
How to move PST file into Office 365
To transfer Outlook PST file into Office 365 file manually, user needs to follow below instruction. Let we talk about how we can import Outlook PST file into Office 365 step by step:-
- Assign the Mailbox Import Export Role in Office 365:
- First of all, admin needs to allocate the mailbox Import Export Role. For this:-
- Open office 365 Admin Account >> Click on the Admin option.
- Go to Admin Centre >> hit on exchange to open Exchange Admit Center Portal.
- Choose Permissions >> Double click on Organization Management.
- In Role option clicks on + sign and choose Mailbox Import-export and Add.
- In member option hit on + and select the user for which you want to create import-export session And Save.
- Crate Job & Upload PST file:
- Go to Setup Icon and choose data migration >> hit on Upload PST Files Box.
- Now Click new Import Job and type the job name in Name section >> Next.
- Then Select upload your data radio button and click on Next.
- Copy SAS URL & Download Azure AzCopy Tool:
- In import data section goes to second option Show Network upload SAS URL and copy the SAS URL.
- Hit on 3rd option to Download & install the Azure AzCopy storage tool.
- Now go to where your PST file or folder is located and provide the sharing to share got the Network Path.
- After downloading Install & Run this application and type the below-given command >> hit enter Key.
“AzCopy.exe/Source:\\Give PST File Network Path/Dest:“Pest SAS URL” /V: give the location to save log file\AzCopy.log/Y”
- Creating CSV or PST mapping file:
Now you need to create a CSV file in the below-given format to import PST file into Office 365.

- Workload:- Here we type Export to import PST file into the user mailbox.
- FilePath:- Here provide share file path. You can live it filed blank.
- Name:- Here we are providing the file name of PST file.
- Mailbox:- Here we type the Office id where we want to move PST file.
- IsAchive:- To move all PST files in user mailbox archive folder type YES otherwise FALSE.
- TargetRootFolder:- Gives the mailbox folder name where the PST file is imported. You can leave it blank.
2. After Creating CSV file click on select the checkbox “I am done uploading my files” and “I have access to the mapping point” >> Click on Next.
3. Click on “+ Select mapping file” to upload CSV file then hit on validate for validating the CSV file.
4. After validating click on save. Now, wait till the process is not completed.
5. After Complete the process a new window “import” will be open. Here simply click on “import to Office 365” Button.
6. Now wait till the import PST to office 365 processes not completed. When it done, hit on Close.
Final Word
It’s all about – “how can we move or import a PST file in Office 365”. Here I have highlighted all the steps of the manual process. But if you still have any doubt then you can contact our support team for a better response regarding your query.